If you’ve used Midjourney in Discord, you know how nearly impossible it is to find and reference the images you’ve created. There are too many people creating images in the same server. Who knows what images are created along side yours. It’s a mess.
But now, there’s an easy way to set up your own Discord server and keep everything organized.
1. Sign up for Discord
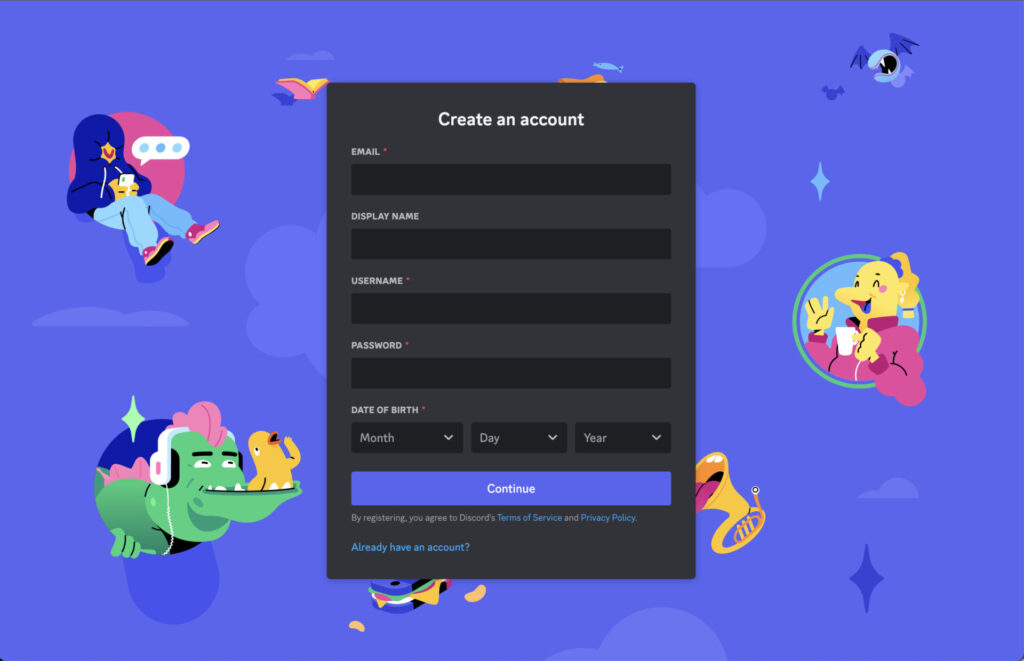
The first thing you want to do is go to discord.com and sign up for an account. You can opt to download the app to your computer or use the web version. Personally, I use the web version. Either way, they’re both synched so you can easily switch between systems.
Discord is made up of multiple servers. Think of it like different Slack instances. Each Discord server is run by different people or groups, and they focus on different topics. I’m a member of a dozen servers or so across an array of topics.
2. Create Your Discord Server
You’ll need to create your own server so your images aren’t mixed in with everyone else’s on the Midjourney server.
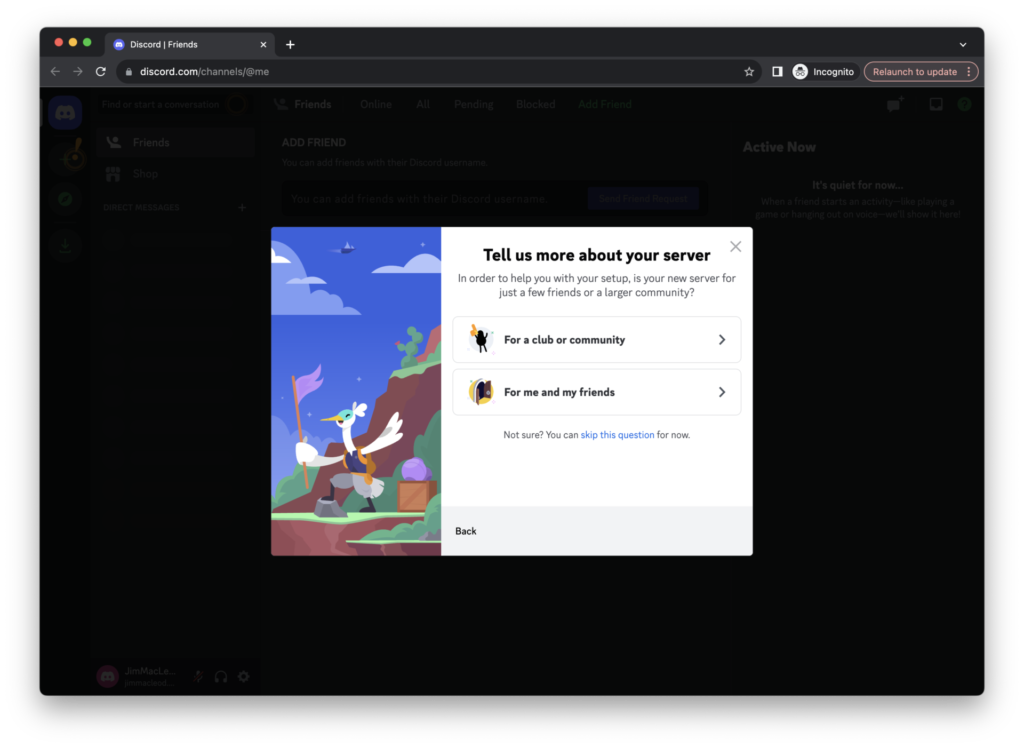
After you register your account, the first thing you’ll see is a screen asking you to describe your server.
Next you’ll want to choose what type of server you want. I choose “For me and my friends” since I plan to keep this server private for just my use.
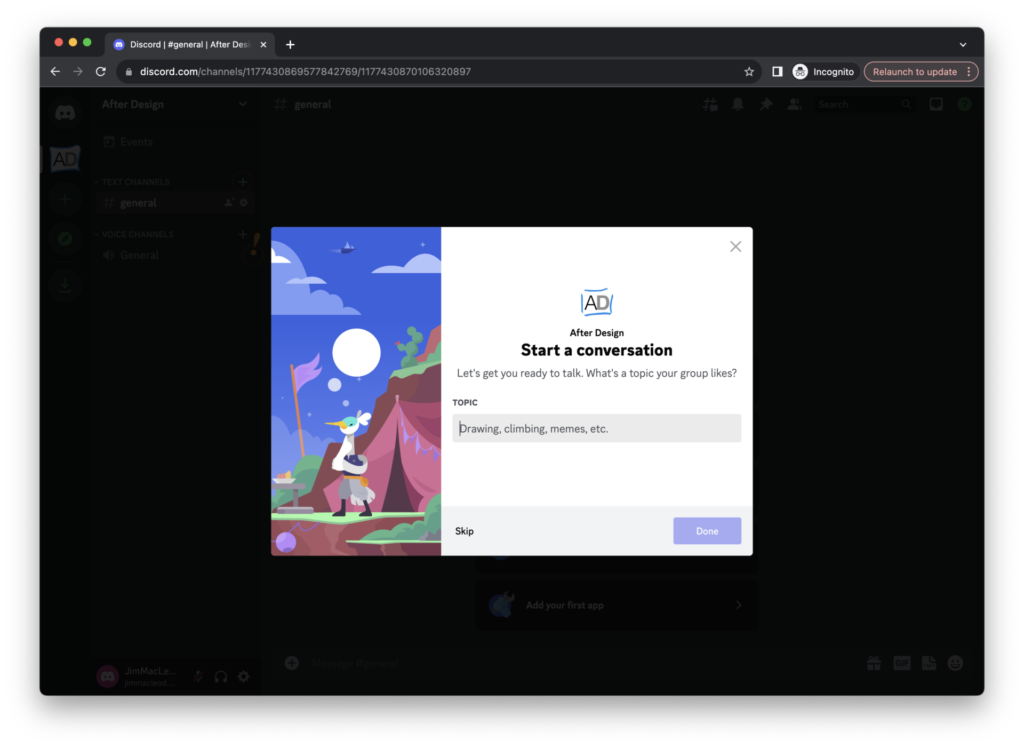
This stage will ask you to describe your server. If you’re planning on keeping it private, this isn’t as necessary.
I’ve found it’s good to have an icon in there so it stands out from any other servers you’re a part of.
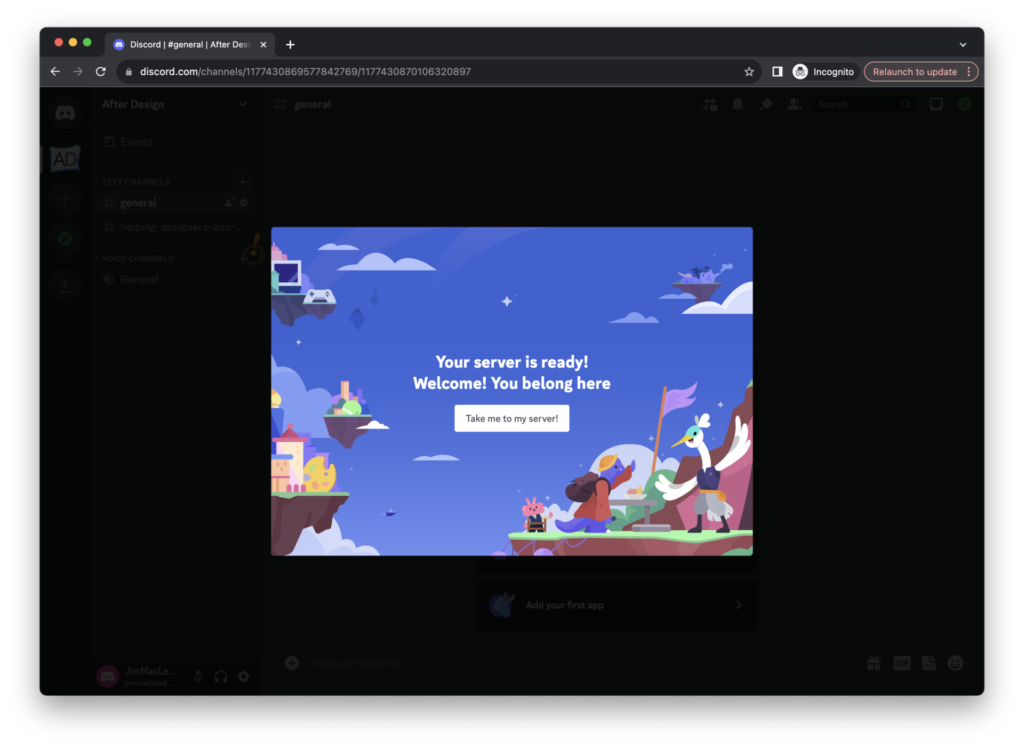
Now your server is ready to use.
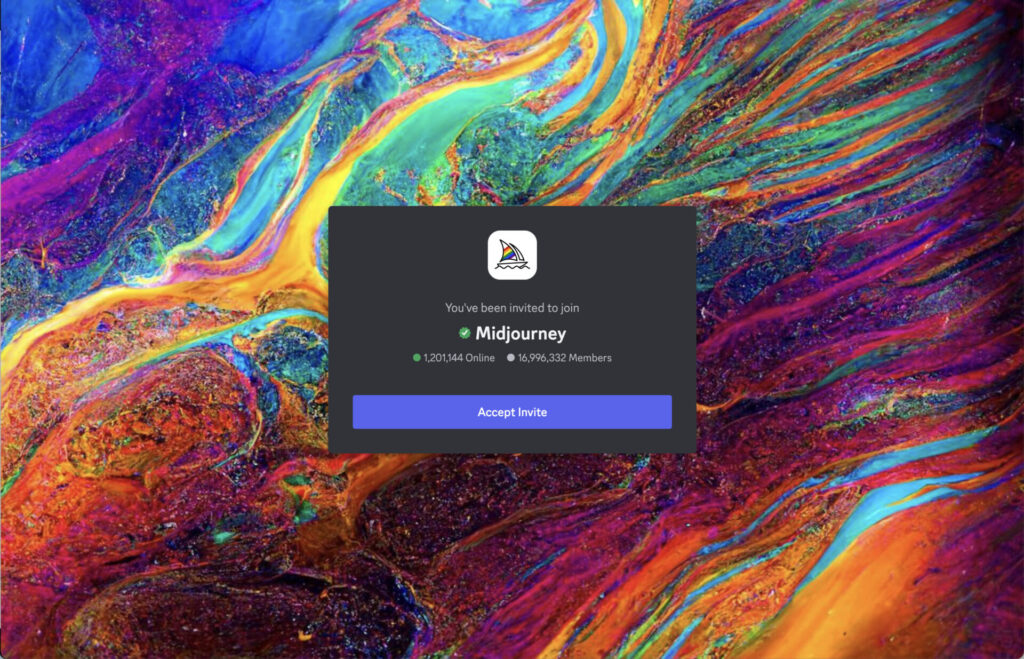
3. Join the Midjourney Server
The first thing you’ll want to do is join the Midjourney server. You can use this link to gain access.
4. Add Midjourney to Your Server
Now that you have a Discord server and Midjourney, let’s tie them together.
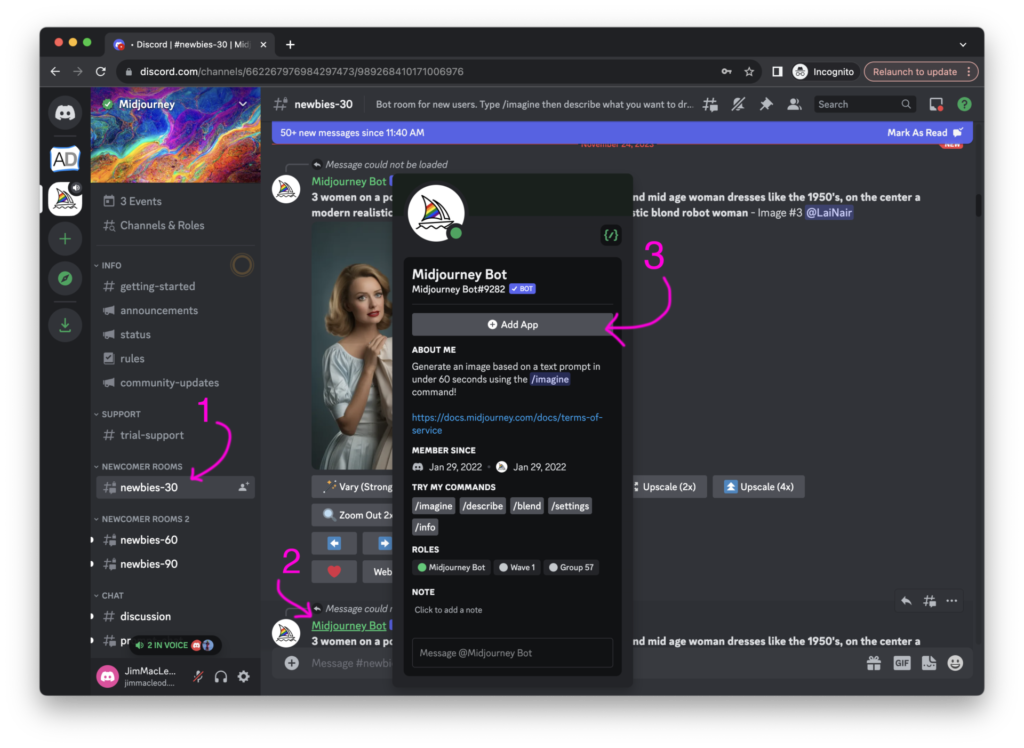
In the Midjourney server, 1) click on any channel and then 2) click on the Midjourney Bot name.
This will open up the menu you see in this image.
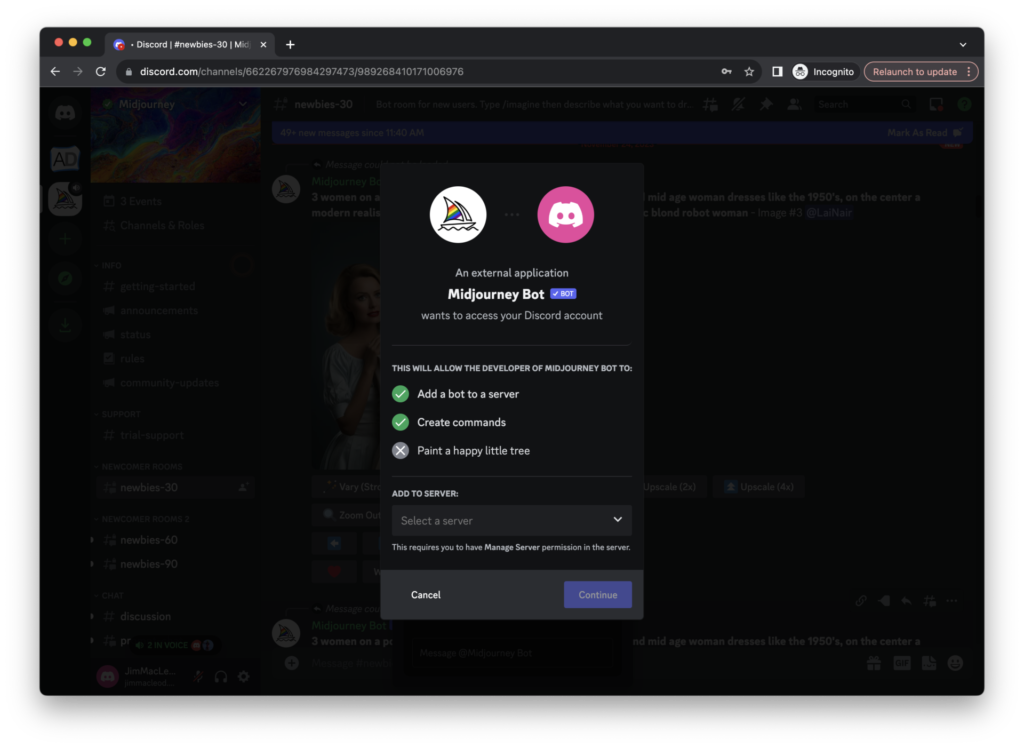
Next, you’ll select which server to which you’ll add the Midjourney bot.
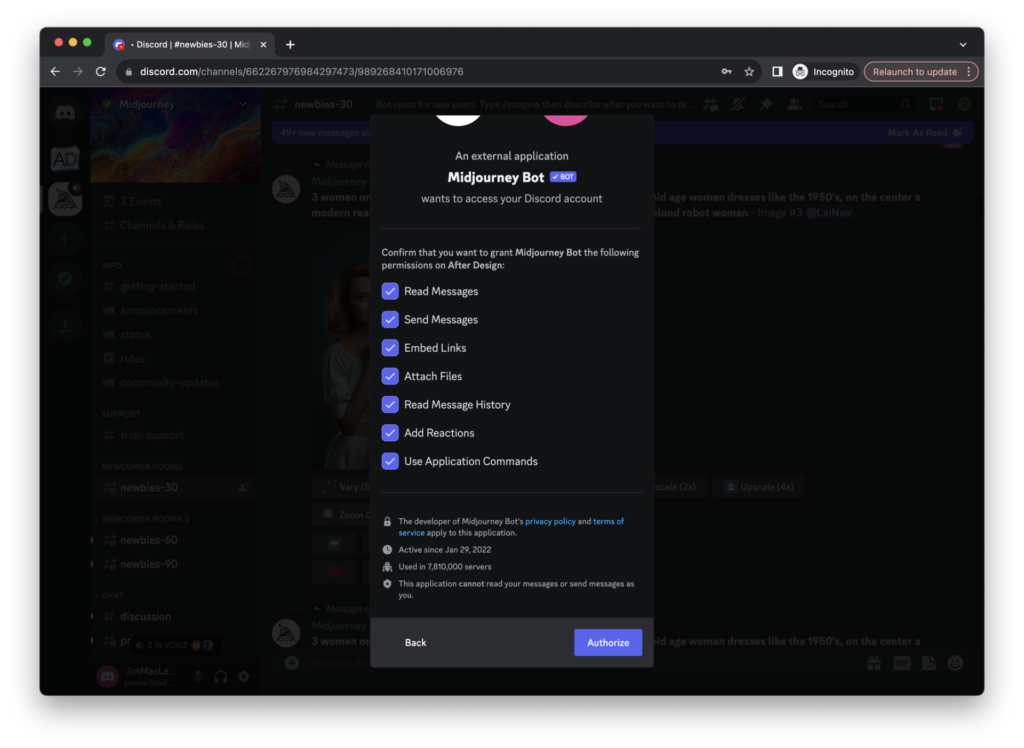
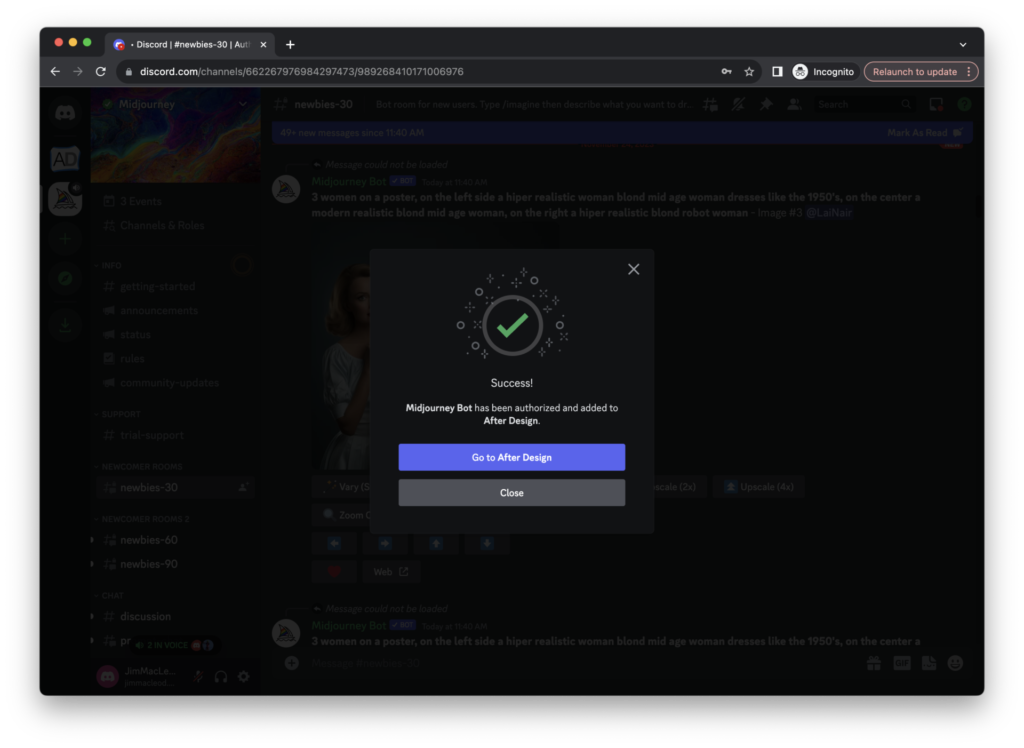
Select what aspects of your server you want Midjourney to have access to.
The Midjourney bot is now available in your server.
5. Customize Your Server
The Midjourney bot is now available in your server.
Create different channels based on different use cases.
This helps Midjourney know what you want at different times. I have different channels set up for After Design, as well as other work where I want to create generative AI imagery.
I’ve found Midjourney that if you request a similar style multiple times in a channel, the bot knows to keep using that basic style within that channel.
6. Start Playing!*
Now comes the fun part!
Make sure each prompt begins with /imagine (type a slash, and then the word "imagine"), then hit tab or space to get to the description stage
There are millions of sites and videos that will give you advice on how to shape your prompts.
For my After Design work, I use the same image description to ensure all of my images look similar.
Example format:
/imagine [description of image I want] [pre-determined image styling]
*You’ll probably have to pay to access Midjourney. But it’s worth the $10 for a month to test it out. Just like any tool, you should know how it works so you can use it if the right situation comes up in the future.